RETURN VOID
How I Hacked a Smart Telescope for the World to Use
Disclaimer: This project is an independent, non-commercial experiment and is not affiliated with or endorsed by Vaonis. It uses independently developed software created for interoperability with hardware owned by the author. No Singularity application components, Vaonis code, or proprietary assets are used, modified, or redistributed.
Table of Contents:
- A Background
- Wi-Fi Woes and Technical Difficulties
- Solving Connectivity
- The Server, The GPU, and The Headache
- Adding Atmosphere: Music and Sound
- Reverse Engineering Singularity
- The User Experience
- The Constellation System: Stars for Supporters
- Challenges
- The World's Telescope
A Background
I have always been absolutely fascinated with astrophysics, space, technology, and engineering projects. From an early age I would lie on the roof of our brick farmhouse in the Southeastern United States. Back then, we didn’t have the light pollution that exists everywhere now, and I could dream about planets, the solar system, and just how much cheese the moon was really made of.
That fascination with the cosmos never left me, but my family could never afford to purchase a telescope. Even if they had, they wouldn’t have expected me to know how to use one. I was obsessed with computer technology, computer games, hacking, IRC, and other things you’d expect from a ten‑year‑old wannabe hacker. I loved science class and paid very little attention to other classes that weren’t closely related to it in school. Needless to say, I never did very well in school.
I was too busy reading the Rainbow Books and The Hacker’s Manifesto, or coding IRC chatbots in Lua, finding ways to hack computers through protocols like NetBIOS or websites running PHP. While I never got a telescope from my family, I never lost the memories of sitting atop my house and wondering about the stars, galaxies, and all the questions filling my head, which largely led me to who I am today and all the many hats I tend to wear.
Some of those hats include being a semi‑professional gamer (now “washed up,” as most would say today), a hacker, musician, game designer, and astrophotographer.
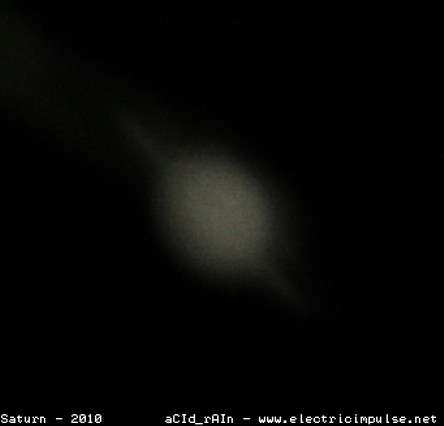
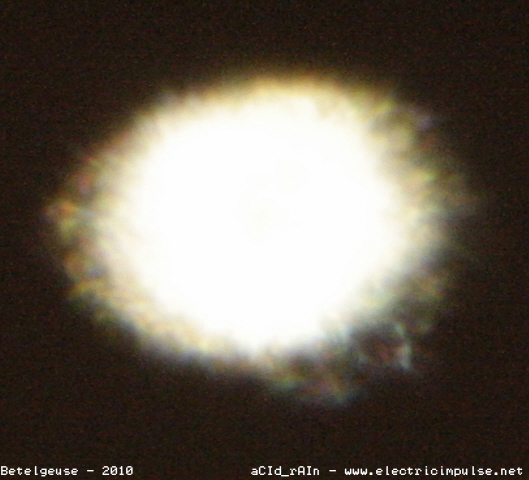
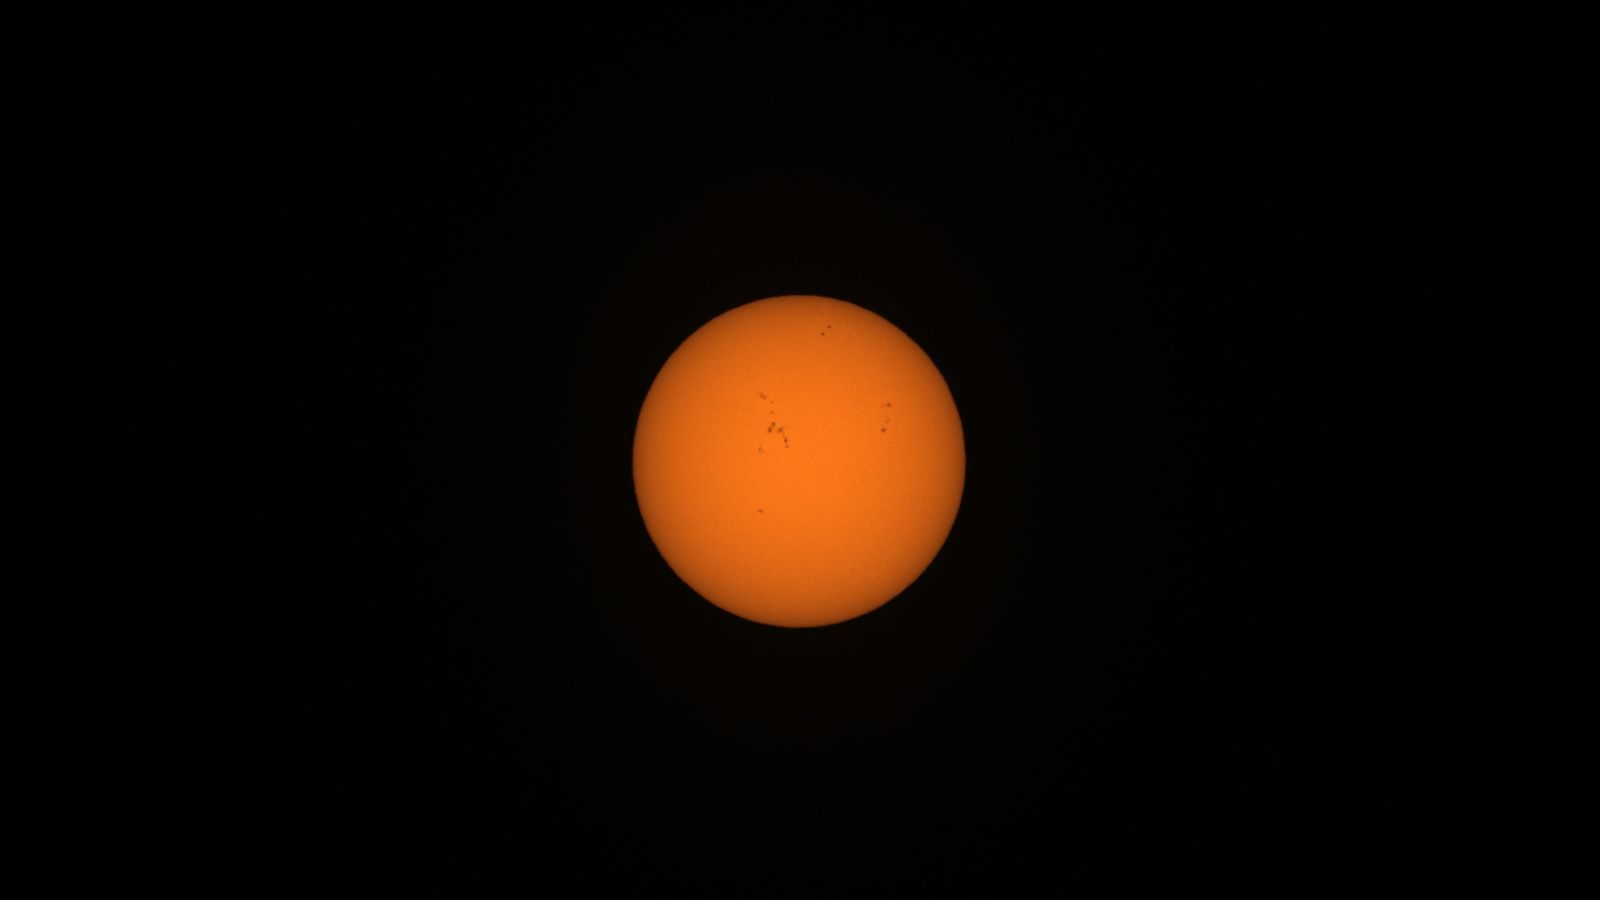
I purchased my first telescope around the age of 25. I learned early on about astrophotography and jumped in head first. I started with a decent telescope, a Celestron Nexstar 8SE Schmidt-Cassegrain, which had motors and a GPS addon. I bought a star finder laser and many filters. I bought an adapter for my Canon Rebel XSi to mount it directly to the scope, and off I went. I took pictures of all kinds of things.
Most things I captured were terrible at first, but slowly after a couple of years of being a hobbyist and getting more serious, I got better and better.
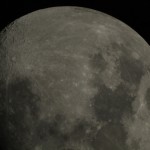

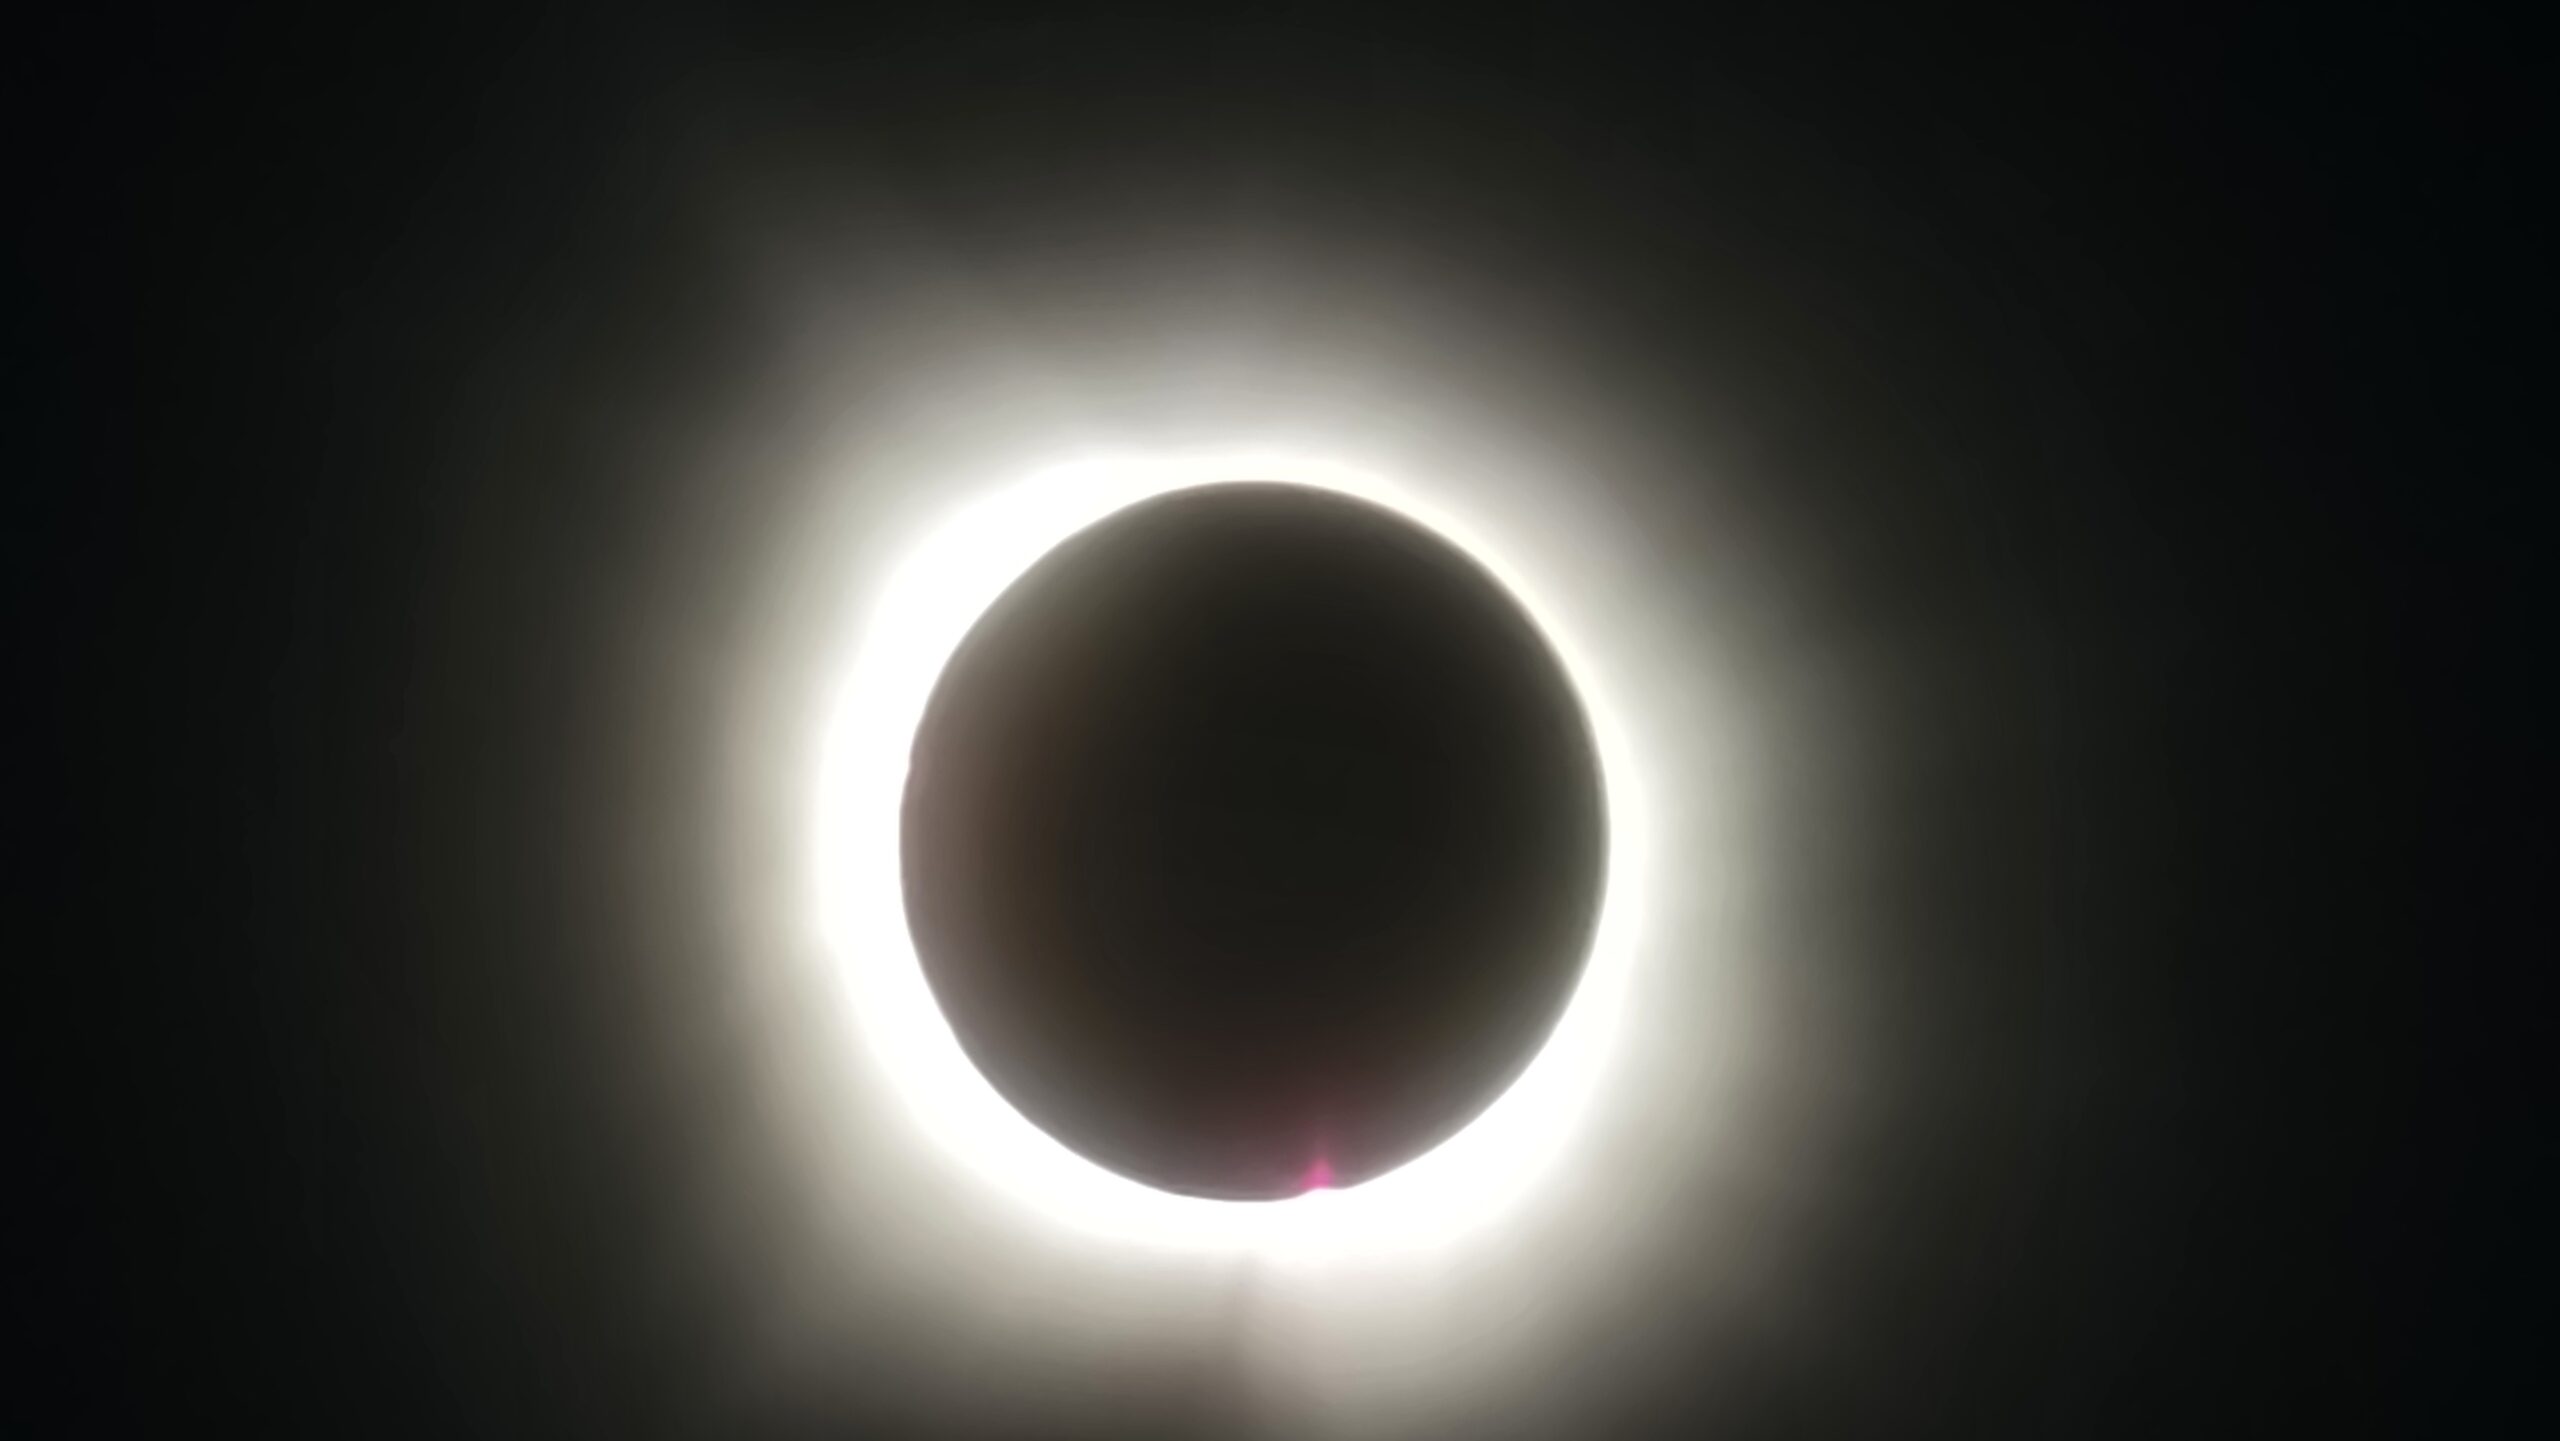
Little did I know that after many horrible photos, I would finally land a really great image of the moon during a lunar eclipse. This landed me on The Atlantic, which was such a life achievement at such an early age. My love for astrophotography only grew.
Sadly, after leaving the United States Army in Texas, I moved back to my birthplace, which didn’t have the elevation or the seeing conditions that Texas had. I sold my telescope to a very happy individual who I grilled more than an average seller on eBay should to make sure it got a loving home. I wouldn’t get another telescope until I was 38. After moving away once again, I found myself back in Texas.
I had heard about smart telescopes with all the bells and whistles: GPS, auto‑stacking, auto‑tracking, built‑in Wi‑Fi, and an FTP server built in. At first, I felt a bit like I was cheating if I were to buy one. Naturally, image stacking was and is an art form in itself, not to mention postprocessing, alignment, tracking, and so many other aspects of astrophotography that we now take for granted courtesy of smart telescopes.
I wasn’t a stranger to these manual processes after years of having to do it all manually. After some time, I finally caved in and purchased my first smart telescope, the Vaonis Vespera II.

Wi-Fi Woes and Technical Difficulties
After spending a year with my new telescope, I had captured quite a few beautiful images - some with the telescope and some even with my phone. The Vespera II had everything I needed to enjoy long nights of astrophotography and allow others to come over and watch from the comfort of home instead of sticking their faces into an eyepiece (which remains a cathartic experience for many to this day).
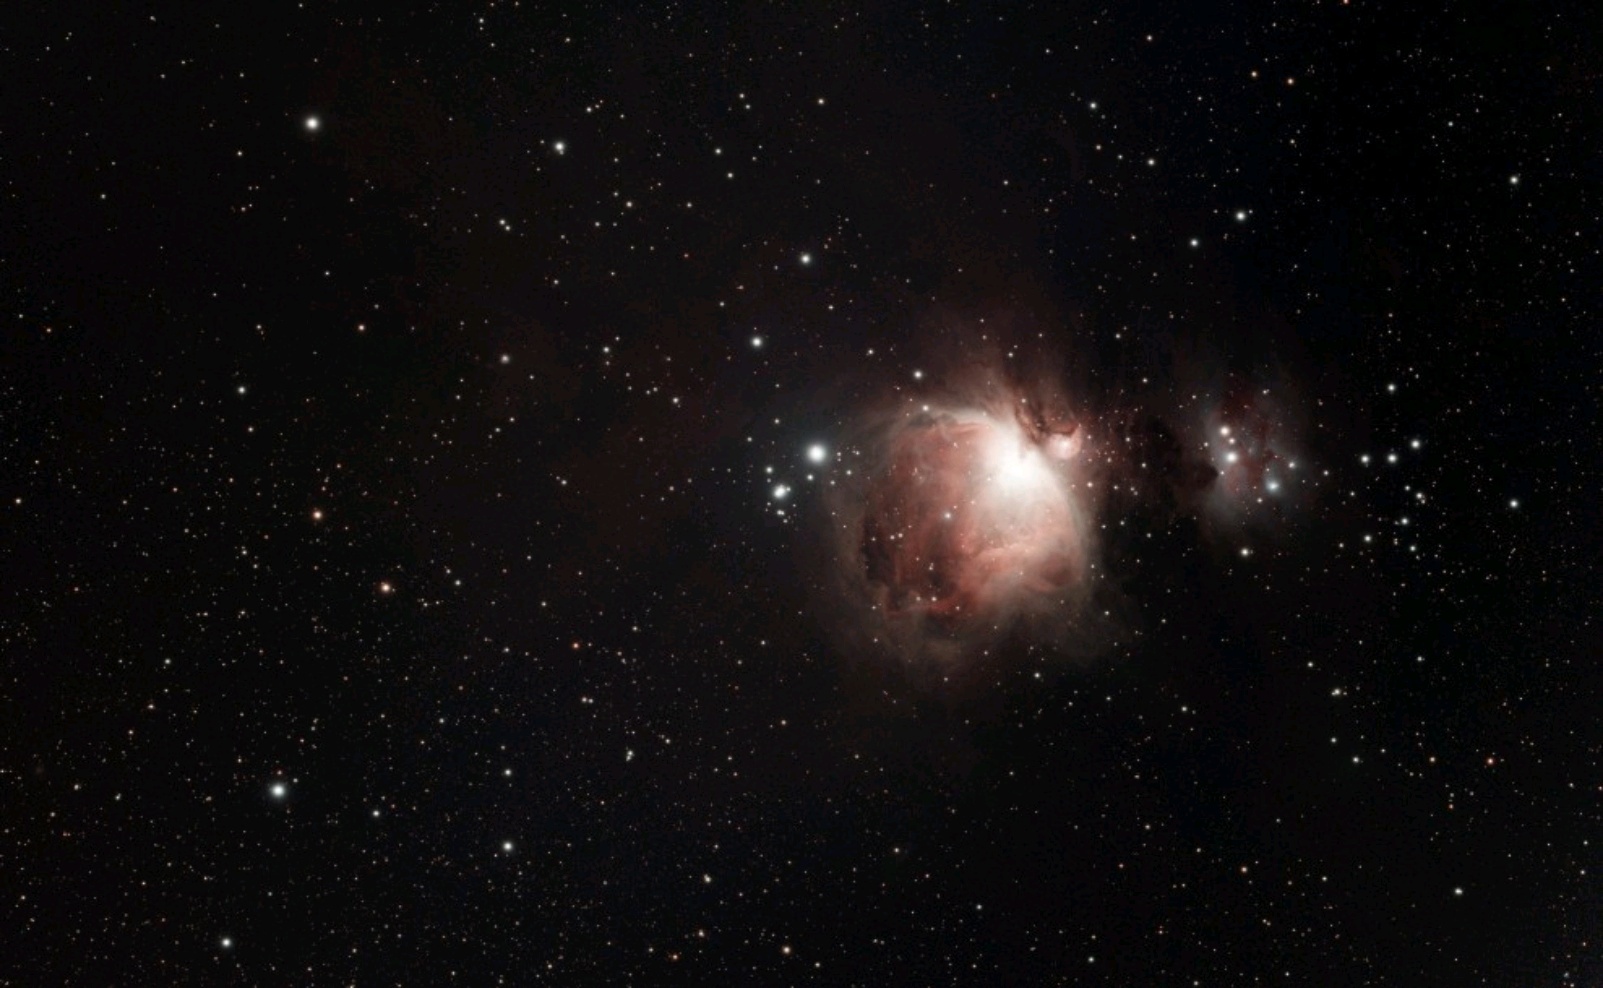
Vaonis had done such a good job making astrophotography and exploring astronomy easy to do, which is one of the hardest things to do. The amount of work and effort that went into making Singularity, a mobile app we’ll explore more in just a moment, astounded me. I could simply open this app on my phone, tell the telescope what I wanted to see, and in just a couple of minutes be viewing the Orion Nebula with friends and family.
After a few wonderful cold, but quiet nights out with the telescope, I thought of a friend of mine who wanted to buy the same telescope after I had talked with him. I remembered conversations from family members and close friends who sounded excited to try a telescope like the Vespera II, but the price tag was a stark reminder that unless you are really into this kind of thing, picking one up is not a priority. Those talks reminded me of when I was a kid.
Specifically, I was reminded of how we couldn’t afford a telescope and how I had spent nearly 15 years watching documentaries about space and the universe when I longed to explore it on my own.
As previously mentioned, I’m an avid gamer. My love for games and computers was just about as much as my love for astronomy. To this day, I am largely in touch with livestreaming and gaming culture.
Over the past two decades, my livestreams have largely morphed from playing video games to coding and music production sessions and all kinds of experimental, hacky things like: coding Discord bots, video games that are played directly through Twitch, and other applications like Slackord (a Slack‑to‑Discord migration bot), CleanSweep (a Windows junk‑file remover), SimulaCLI (a Linux terminal emulator in JavaScript used right in your browser), and many more.
The last quarter of a year and the first quarter of a new year are typically the best time to bring a telescope out. Skies are often clearer and there tends to be less atmospheric interference, which results in better seeing conditions. By the end of 2025 I had taken my telescope out more than a dozen times in the last two months.
Often, I would stream the telescope output to Twitch using something like the BlueStacks Android emulator, where I could load the Singularity application and connect to my Vespera II wirelessly. I’d bug my friends to check it out, they’d show up, and I’d watch them become completely enamored by these beautiful views. Sometimes they’d ask questions about what they were looking at, other times they’d ask if I could show them Jupiter or a particular galaxy.
The year 2025 passed and 2026 seemed to quietly take its place, but a seed had already been planted in my head to try to improve the viewing experience for my friends. I hated using BlueStacks. It was quite limited for what I wanted to do, and it was difficult to use someone’s Android emulation software to wirelessly connect to my telescope that was over two hundred feet away - not to mention the advertisements all over the application hogging up my screen.
All the manual tweaking I had to do just to get a picture on the screen was annoying, especially when the Singularity app wouldn’t work because I was too far away from the telescope trying to stay warm in my home and monitor a livestream at the same time. After the third time having to fix connection issues and failing to share the application through BlueStacks, I'd had enough.
There had to be a better way to share my telescope with my friends that didn’t require me to constantly babysit both an emulator and a Wi‑Fi connection that kept failing due to distance.
I sat at my desk annoyed at how complicated sharing the video feed from my telescope had become. Getting the telescope to produce a picture at all should have been the hard part, yet here I was, downloading two or three different applications just to try to share the image, and moving a tablet around my house to find a signal and a cable long enough to plug into my computer.
If only I could run Vaonis’s Singularity application on my PC and perhaps move the telescope closer where my Wi‑Fi could reach it. Alas, I couldn’t find a PC version of Singularity. I kept digging deeper into the rabbit hole of trying to find ways to stay in my house and simply share my telescope feed with my friends.
What if Vaonis had a public API (Application Programming Interface) I could use or manipulate?

Vaonis made it very clear that a public API was highly unlikely.
I was now stuck trying to solve a basic problem of connectivity and image streaming with no solution in sight that didn’t require significant work or a public API that Vaonis clearly wasn’t going to provide. Houston, we have a problem.
However, a problem is merely a jigsaw puzzle with its pieces strewn about in your mind, waiting for you to use the edge-pieces that ultimately assist you in creating a solution.
What pieces do we have to help solve the puzzle of connectivity?
What pieces do we have to help solve the puzzle of simply getting images on the screen without the need for all this emulation and all the extra software barriers?
I had both a Raspberry Pi 4b and 5 and the Singularity app, which does a great job controlling the telescope.
What if I extended the Vespera’s wireless SSID using my Raspberry Pi 5? That would allow me to use the Singularity app with ease and stream the telescope images to Twitch. Yes, this would work, but I'd still needed to stream my phone’s display to Twitch.
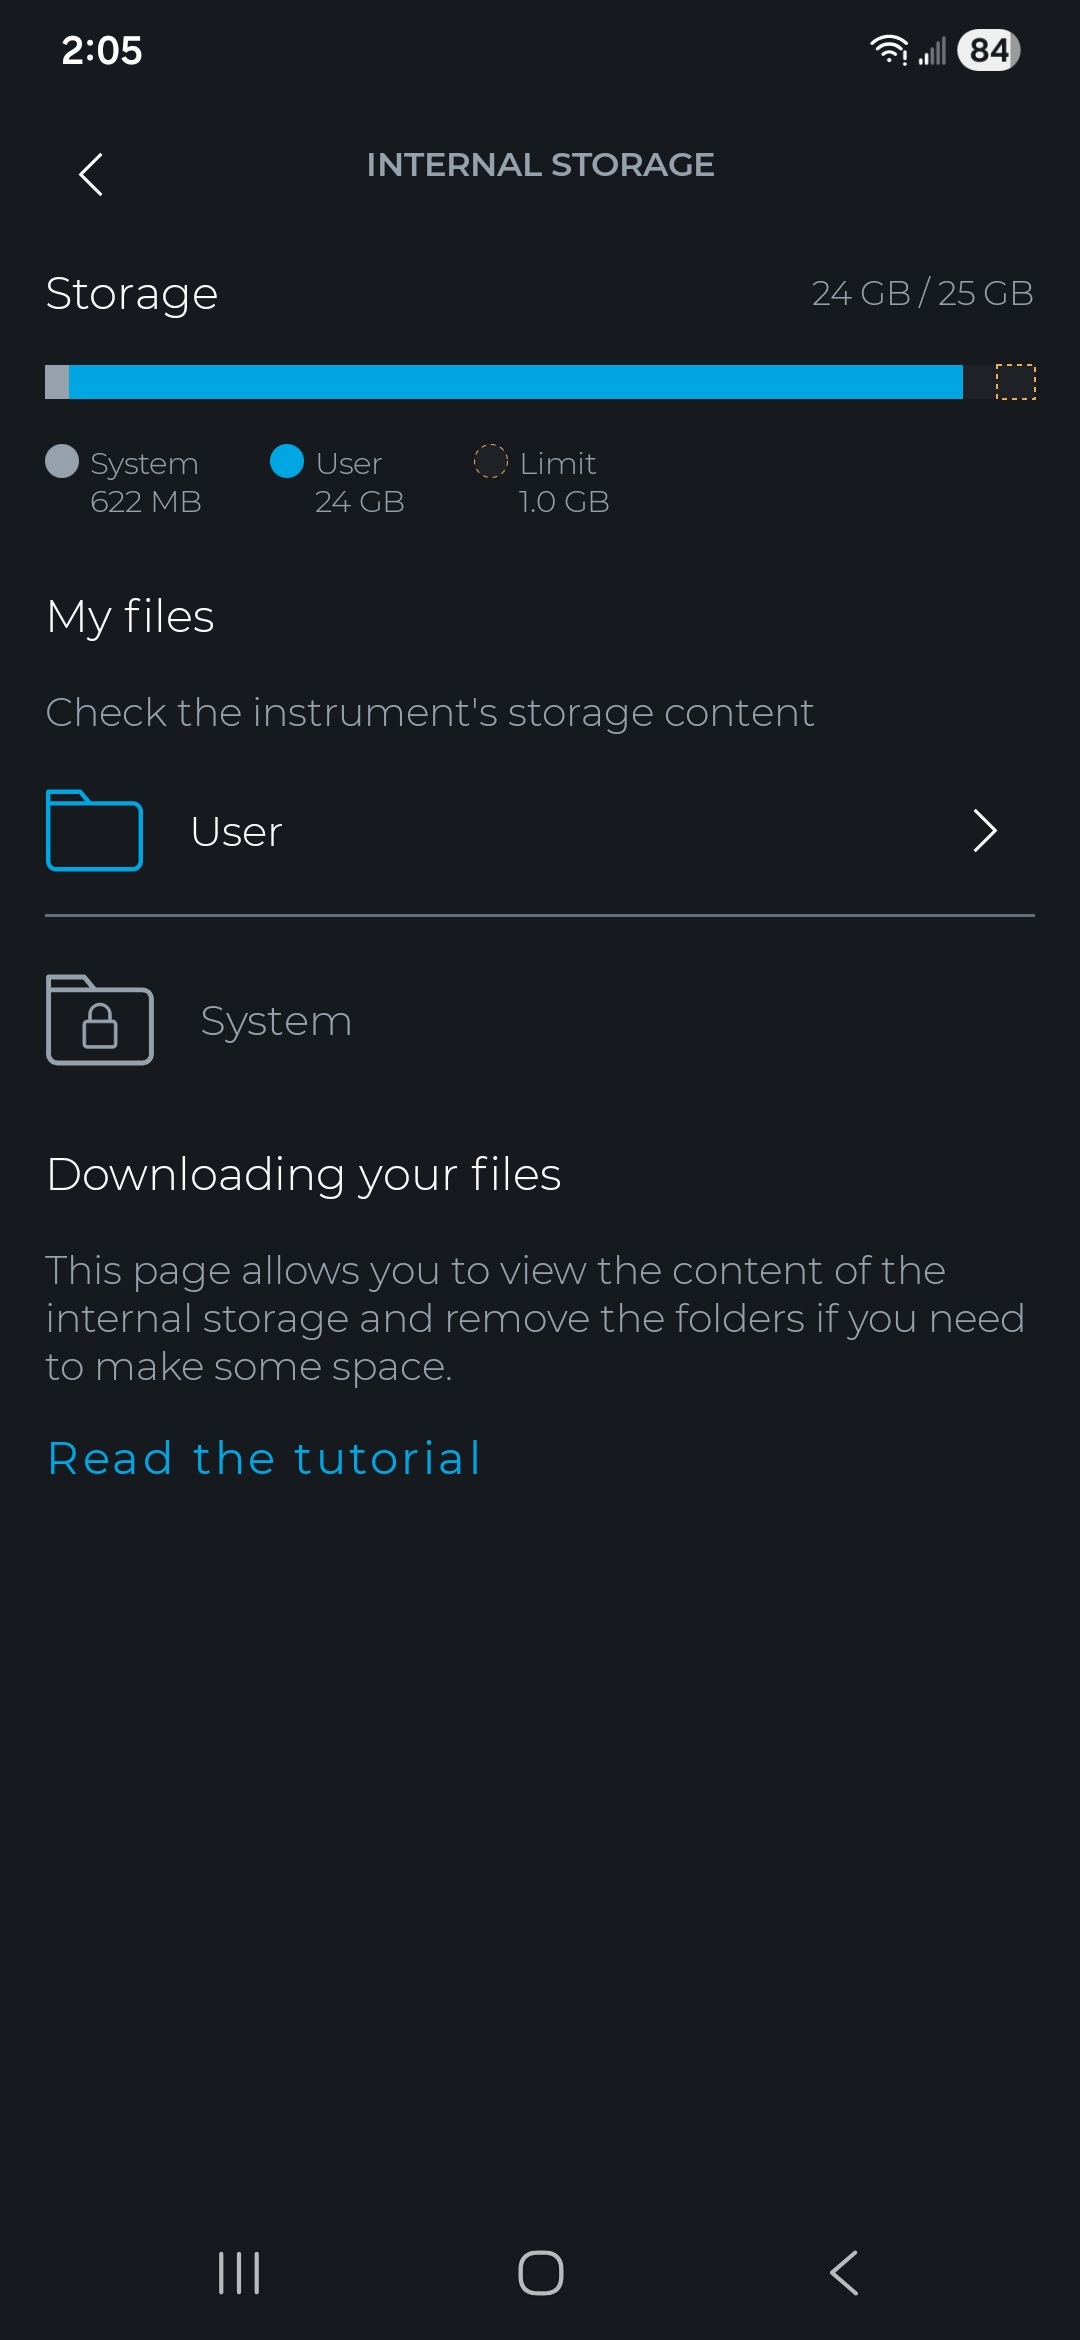
The Vespera II has a 25 GB hard drive specifically designed to store stacked JPEG images from captures. Singularity also allows the user to include FITS (Flexible Image Transport System) and TIFF (Tagged Image File) files. What if we extend the SSID of the Vespera to the Raspberry Pi, then create a script to FTP into the telescope and grab the latest image in the stack?
What if we took it a step further and found ways to communicate with the telescope so that our broadcasting software knows when a capture is happening? What if we used OBS’s WebSocket to control two scenes, one for showing live capture and one for a waiting screen?
What if we reverse engineered Singularity and wrote our own interface with the telescope?
What if we were able to find all sorts of information that could help us write our own interface with the telescope?
What if anyone could control my telescope?
Solving Connectivity
I’m thankful to have a large backyard and a smart telescope. However, while smart telescopes don’t require manual intervention for things like alignment, tracking, and stacking, they pose other challenges, like short Wi‑Fi range, filling up disk space too quickly, overheating, and firmware bugs.
Wi‑Fi and large backyards aren’t enemies, but brick houses don’t play well with wireless signals. The 2.4 GHz band on the Vespera II doesn’t reach as far as hoped. Only about sixty feet away, and I lost anywhere from half to most of the wireless signal. First, we needed to solve connectivity. I turned to the Raspberry Pi 5.

The Raspberry Pi 5 became my wireless bridge. I configured it as a wireless repeater, connecting to the Vespera II’s SSID on one interface while broadcasting its own network on another. This allowed my home network to communicate with the telescope over two hundred feet away through brick walls without dropping packets or losing connection mid‑observation. The telescope now had a stable connection to my infrastructure.
With connectivity solved, I could focus on the real challenge: getting the telescope feed onto Twitch without the BlueStacks and phone‑mirroring nightmare.

The Server, The GPU, and The Headache
In my home lab, I run a MinisForum MS‑01, a compact machine with 16 CPU cores and 96 GB of RAM, running Proxmox as my hypervisor. For this project, I created a lightweight Debian LXC container with 4 GB of RAM and 2 CPU cores. I had recently installed an Intel Arc GPU, which could easily handle video encoding for the stream.

The container would need to run OBS Studio headlessly - no monitor, no GUI, just pure command-line. This turned out to be far more challenging than I anticipated. OBS Studio wasn't designed to run without a display. It expects a window manager, a compositor, and everything you'd find in a modern desktop environment.
To keep from losing my mind and having to build from source, I looked online for a headless release of OBS. There were plenty of StackOverflow articles of others complaining about how it didn't work, or how it worked, but only with specific distros using Flatpak. I was asking for trouble using Flatpak inside of an unprivileged LXC container in Proxmox, and soon enough I found out the hard way. I tossed Flatpak into the digital garbage, and then tried downloading it from Debian's repo, only to find that Debian doesn't include headless OBS in their repository, so that was also a bust.
I had fallen into a trap that most do. I made things overcomplicated by trying to simplify and wasted more time than just taking the road less traveled. Frustrated and just needing a point in the right direction, I headed to the OBS Community Discord, where I explained my issue of running OBS headless and problems I was facing. Either the sound wouldn't work, the WebSocket was broken, OBS wouldn't continuously crash on startup - if you thought about it, it would break. I was told specifically by a member of the community that, "headless OBS is largely unsupported". I appreciated the candor but now I felt like the only route was to build from source. Building from source is not some daunting task. It's not particularly hard to do, but I knew I'd end up in dependency hell on a brand new Debian install, and sure enough, into dependency hell I fell. Virgil was not there to guide me.
After several failed compilations, installing dependency after dependency, I finally got it compiled. Then I forgot to compile the WebSocket so I had to compile it again. Now with headless OBS available and three hours of daylight spent, I decided to run Weston (a Wayland compositor) in headless mode, spawn a virtual X server through XWayland, and launch OBS within that environment. The startup script looked something like this:
#!/bin/bash
export XDG_RUNTIME_DIR=/run/user/0
export WAYLAND_DISPLAY=wayland-0
export DISPLAY=:99

# Start Weston headless
weston --backend=headless-backend.so --width=1920 --height=1080 &
sleep 3

# Start Xwayland for OBS compatibility
Xwayland :99 &
sleep 2

# Launch OBS with streaming enabled
obs --disable-shutdown-check &
sleep 5

# Start streaming via websocket command
python3 /opt/ReturnVoid/stream/start_stream.py
The OBS WebSocket plugin was absolutely required - without it, I couldn't control OBS programmatically: switching scenes, starting/stopping the stream, refreshing browser sources, changing volume levels, etc.
Adding Atmosphere: Music and Sound
Now I have my connection to the telescope. I have OBS running headless with a scene programmed to pull the latest stacked image from the telescope's FTP server, what was next? I wanted ambient, space-themed music to accompany the views. Lucky for me, I knew just the musician who already had plenty of material! I've created musical pieces ranging from EDM/IDM/Experimental, Jazz and more over the past 15 years of my life as the artist(s) First Sun, and Just Below Purgatory. I snagged quite a few experimental/IDM tracks from my latest album, Components In Chaos, and a few other random ones I felt people would enjoy listening to and then built a music monitor service that watches OBS's VLC source and writes the currently playing track to a JSON file:
# Music monitor writes current track info for the overlay
music_info = {
    "title": current_track.split(" - ")[1],
    "artist": current_track.split(" - ")[0],
    "playing": True,
}

with open("/tmp/returnvoid_music.json", "w") as f:
    json.dump(music_info, f)
The overlay we'll talk about in just a moment reads this file and displays a "Now Playing" indicator in the corner of the stream. I then used the Astronomy Python library to pull what time of day/night it is and synchronized the music based on the sunrise/sunset value of my location. At Civil Twilight (the Sun is 6 degrees below the horizon), the music begins to fade out from 100% then down to 0% at 0 degrees (vice-versa for sunset).
Reverse Engineering Singularity
I downloaded the Singularity APK from APKPure and got to work. Using jadx, I decompiled the Android application into readable Java source code:

jadx --no-res --no-debug-info -d ./decompiled singularity.apkWhat I found inside was more than what I was hoping for. I didn't just find API calls, I also found a massive database containing coordinates for stars, galaxies, and more. This wasnt too far different from XPSD files that PixInsight offers their customers in order to find coordinates for bodies as well. Digging into the the API, I found the telescope communicates over two channels:
HTTP REST API on port 8082 for commands (start observation, park, initialize)
Socket.IO WebSocket on port 8083 for real-time status updates
The REST API endpoints were hardcoded and easy to discover:
POST /v1/general/startObservation - Begin observing a target
POST /v1/general/stopObservation - Stop current observation
POST /v1/general/startAutoInit - Initialize/calibrate the telescope
POST /v1/general/park - Park (close) the telescope
GET /v1/app/status - Get current status (no auth required)
These were definitely necessary for automation, but the real diamond was the Socket.IO connection. The telescope broadcasts a STATUS_UPDATED event every few seconds containing everything: current operation, target coordinates, stacking count, battery level, motor positions, and more. Now I have information to place on my overlay!
So, I started coding away, adding lots of features to the Twitch bot to control the arm. I got to a point where I felt really confident that my commands to park the scope arm would work flawlessly, so I send a command to park it.
My WebSocket connection fails.
It fails again, and again.
Maybe my keep-alive code is not working properly, I thought. I investigated it, and the code was fine.
After digging deeper, I found that while the status endpoint worked without authentication, any command that controls the telescope requires authentication, and not just any authentication - a challenge-response system using Ed25519 cryptographic signatures.
BUSTED! I knew this was the end of the line. There was no way I was going to hack my way out of this one.
I start capturing traffic between the repeated SSID on the Raspberry Pi and the Vespera II, and... I found the authentication flow!
1. Connect to Socket.IO and receive a challenge string
2. Base64 decode the challenge
3. Append the telescope ID and boot count
4. SHA-512 hash the result
5. Sign the hash with an Ed25519 private key
6. Send the signature in the Authorization header
But I still needed the key. It has to be somewhere, hopefully not remote! That would definitely raise some additional concerns. No, it wasn't. It was hardcoded in the APK. Security through obscurity at its finest. I chuckled, because for a moment, it reminded me of this time I really wanted to build a steganography app where users could hide their passwords in images, then use a "master key" to lock/unlock the vault. I still think that's a cool idea.
This was even less secure.
So I created a challenge response system:
# Authentication header generation
def generate_auth_header(challenge, telescope_id, boot_count):
first_char = challenge[0]
challenge_bytes = base64.b64decode(challenge[1:])

suffix = f"|{telescope_id}|{boot_count}"
message = challenge_bytes + suffix.encode("utf-8")

digest = hashlib.sha512(message).digest()

signing_key = SigningKey(PRIVATE_KEY[:32])
signed = signing_key.sign(digest)
signed_b64 = base64.b64encode(bytes(signed)).decode("utf-8")

return f"Basic android|{first_char}|{signed_b64}"
I send the park command again and walk outside.
"IT'S MOVING! YES! IT'S MOVING!"
I scurried back inside, eager to use the keys to the kingdom. With authentication working, I could now programmatically control the telescope entirely! I could point it at the Orion Nebula, park it when clouds roll in, initialize it at sunset; all this could be done from a well-crafted Python script.
Digging into the WebSocket more, I found that the telescope broadcasts a JSON payload quite the detail:
{
  "telescopeId": "VESPERA2-XXXXXX",
  "model": "vespera2",
  "initialized": true,
  "state": "READY",
  "operation": {
  "type": "OBSERVATION",
  "target": {
  "objectName": "Orion Nebula",
  "ra": 83.82,
  "de": -5.39
},
"capture": {
  "exposureMicroSec": 10000000,
  "gain": 150,
  "stackingCount": 42
},
"steps": [
  {"type": "ASTROMETRY", "progress": 1.0},
  {"type": "AUTO_FOCUS", "progress": 1.0},
  {"type": "START_TRACKING", "progress": 1.0}
  ]
},
"internalBattery": {
  "chargeLevel": 85,
  "chargeStatus": "CONNECTED"
},
"motors": {
  "AZ": {"position": 180.5},
  "ALT": {"position": 45.2}
  }
}
I could track initialization progress step-by-step, display real-time stacking counts, show battery status, and even detect when the telescope encountered errors like failed plate-solving or obstructions. I could even use this data later in chat as direct feedback to administrators of the telescope and users.
Once I had coded a few administrative commands in as a failsafe like being able to abort the current-running task or to park the telescope, I started coding the CovalENS functionality. With Vaonis smart telescopes, CovalENS is a panoramic capturing method. It allows us to specify height and width of our capture. With typical telescopes, you simply get whatever the eyepiece or width that your CMOS camera can provide. Since the Vespera II can auto-track very well, we're actually able to just move the telescope in a circular pattern outside of our normal view to get more images that we normally couldn't get, then stitch them together using FITS data. The FITS standard, known as Flexible Image Transport System was released in 1981 for astronomical data, and includes provisions such as describing photometric and spatial calibration information, together with image origin metadata. To put it more clearly, we can store star location data in a file, then with CovalENS, we can slew left slightly, take another image that overlaps two stars, and use the FITS data to line the images up and stitch them together as a single image.
The Vespera II has a max Field of View at 2.5° x 1.4°. With CovalENS, the FOV increases to 4.33° x 2.43° at whopping 24 MegaPixels. Knowing this, we can create a command to provide administrators to specify width and height, as the data for starting a CovalENS session was just a mapped field with dimensions specified. The firmware handled all the heavy lifting, which was nice to see.
I found a plethora of data I could use, including telescope position in degrees, motor status, and more parameters than one could hope for. It got me thinking about the ways I could show users what we were currently doing, what we were viewing, how the scope was moving, and more. The gates opened, and ideas for a UI flooded in so quickly, my brain became water-logged with feature creep.
The User Experience
With OBS running headless, music also running, and the ability to control everything via WebSocket, I needed an overlay that showed viewers what was happening in real-time. What target are we observing? How many images have been stacked? What's the weather like? Is voting open? What kind of filter are we using on the telescope?
I looked to twitchio, a Python library for Twitch chatbots. I've written a handful of Twitch bots, mostly in C#, but while the languages were different, the Twitch side of the API hadn't changed, and I was in comfortable territory.
The Singularity app doesn't allow more than one user to control the telescope at any given time, and for good reason. Switching back and forth between my phone and the script having control of my telescope started to annoy me. I created a "!control" command to force the script to release control of the telescope temporarily. Invoking it again would reclaim control. Finding edge cases and fixing them became a nightmare - like what happens when someone hasn't released control but we're asking for it? What if the telescope is parked? I had to experience most of these issues by simply running into them head-first.
Once I finished creating the !control command, I realized I'd need an !abort, and a !park command, too, as it was well past midnight and there was still much to do. We still didn't have a proper overlay to put all this data on, but we need to be able to control the telescope as if we were using Singularity in case it begins to rain, the sun comes up, etc. This also meant we would need to automate the startup process.
When the telescope first starts up, it must know what it's looking at in the sky to get its bearings. This phase is called the initialization phase. The initialization phase uses astrometry to find out where it (the telescope) is on Earth, and what it's looking at. It then calculates the Earth's speed for rotation to track a single star it can recognize by using astrometry patterns, then focuses on those stars until it is absolutely certain it knows where it is, how much it needs to move to view another star millions, or even billions of light years away. In the Vespera II, the initialization phase looks like this:
GO_TARGET - Slewing to target coordinates (mount is moving)
ASTROMETRY - Plate solving to verify position
AUTO_FOCUS - Automatic focusing on stars
START_TRACKING - Starting sidereal tracking
CAPTURE / STACKING - Now live viewing, stacking frames
These phases are only linear when things go perfectly. When they don't go perfectly there are even more stages the telescope will do, including widening its view to look for more targets for initialization.
I had parked the telescope to keep the arm down while it was unused and had a few errors that had caused the telescope to restart, which wiped the initialization data entirely. That's completely normal since it's assumed you don't care about the initialization data if you're turning the telescope off - it's likely you're putting it away for the night. I had to use the !control command multiple times to re-initialize the telescope. Finally, my impatience had gotten the best of me and it was time to create an !init command so I could just initialize the telescope right through Twitch. The Vespera II gladly gave plenty of information about the progress and stages astrometry it was in.
After 45 minutes of coding enums and getting the values correct to properly track progress, I typed !init into the Twitch chat:

It felt like something you'd see out of a 90's science-fiction movie, and I was absolutely ecstatic to see it.
Now that I had all the administrative commands completed, it was time I built an HTML/CSS/JavaScript overlay that OBS could load as a browser source and display this information. It was nice to have data in chat, but I had an entire livestream of real-estate to show information, a voting system to create, along with many other unfinished systems.
Before I began work on the overlay I would need to write a Python service that polls the telescope's status and write that status to a JSON file that the overlay reads so we could track whether we were going to be voting or viewing, or if we were already viewing and needed to set up a vote to view the next object.
// Overlay polling for status updates
async function updateStatus() {
  const response = await fetch(`overlay_data.json?${Date.now()}`);
  const data = await response.json();

  document.getElementById('target-name').textContent =
    data.target || 'No Target';

  document.getElementById('stack-count').textContent =
    data.stacking_count || 0;

  document.getElementById('exposure').textContent =
    data.exposure || '--';

  // Update voting display
  if (data.voting.is_voting_open) {
    showVotingPanel(data.voting.votes);
  }
}
I had written some basic code to vote already, but then I realized a huge problem I faced now was knowing what was visible to vote on. The reverse engineered Singularity APK did come with a large JSON file of bodies that were available to the telescope, but that would mean that I would have to use Singularity in some way, which at this point I refused to do. It turns out there's a Python library, aptly named astronomy that you can use to do the exactly what Singularity does to show visible bodies! I could just copy the JSON file from Singularity and match the body names in the astronomy lib to the Singularity JSON file.
I integrated the library and created a "!visible" chat command that used a hard-coded value for my location and elevation in the astronomy lib to return back visible objects. If objects weren't visible, they couldn't be voted on. Additionally, I created a "!view" command that used much of the same logic I had created for CovalENS, except now there simply wasn't a height and width parameter to pass.
We had our administrative commands, and our commands for viewing and voting. Those commands seemed to be working very well. In fact, I would spend the next hour just typing "!view Orion Nebula", and "!view Horsehead Nebula" and waiting for the overlay to update with the new image. It was working, but there was absolutely no feedback whatsoever that we were moving to or from a target, or that we were stacking images. I remembered the Hollywood moment I got when I typed the init command into Twitch chat, and immediately had what I thought was the most cool idea ever.
A loading screen! Not just any loading screen, but one that takes the current location of the telescope, the location of the target body, and shows us progress of moving. After all, moving to and from a target is largely the longest time spent idle. Solving this would make the entire stream way more interactive, and even Hollywood-like if I designed the right way.
I envisioned two circles - one for the telescope's location, and one for the target's location, both with Altitude + Azimuth values. As we begin slewing to our target, the circles get closer and closer to each other until they line up perfectly and both share the same Alt/Az values. With a little code, we could change the two circles to be one circle and create some kind of animation on the overlay to let viewers know we're about to start stacking images.
We could also add a progress bar of the entire operation so that viewers don't get bored waiting around for stacked images to finally show.
After another two hours of tweaks to alignment, colors, and additional bells and whistles to give it the retro 80's/90's vibe, I had it completed.

NOTE: Sorry, I don't have a working GIF of the entire loading screen, but it's been overcast weather for three days and I've not been able to actively use my telescope to show the entire animation off. As soon as the skies clear, I will be replacing this image with a GIF showing the full animation! If you're reading this message, the skies haven't cleared yet.
After getting to a point where I felt the loading screen overlay was entertaining enough, I placed more data at the top of the separate voting overlay just so viewers were aware if the telescope couldn't find a target. Then, I used a Python library called Open-Meteo to get the weather for my location and displayed that on the main voting overlay.
Weather for astronomy isn't the same as weather for anything else you'd typically imagine needing a report for. First, there's astronomical seeing conditions, then there's the Bortle Scale. On the surface, these concepts aren't that difficult to understand, but just like most things in astronomy, they can quickly get ridiculously complicated. However simple or complicated either of these systems can be, it's important to understand how they work at a basic level so our overlay can provide factual data to viewers.
Seeing conditions are one of the first things you learn when becoming an astrophotographer. Seeing conditions will often give you a clear idea on whether or not you should even bother bringing your telescope out. In fact, astronomical seeing conditions are such an important variable for astronomers that it's the very reason we build large telescope observatories on the tops of mountains. These locations are far enough away from light pollution and atmospheric disturbance that we have a much clearer image to process.
Speaking of light light pollution, there's also a scale for that! The Bortle Scale is used to identify light pollution and assign a numerical value to the pollution amount so it's easy to know how good your seeing conditions will be. The numbers are pretty accurate even when considering the simple fact that lights sometimes get turned off.
Providing this basic information may not seem like a big deal to the average Twitch viewer, but to other astronomers and astrophotographers, it matters greatly. I live in a Bortle 4.2-4.5 area, which is pretty ideal, but could always be better (or worse). To briefly give you an idea of how good that is, the scale goes from 1-9 with a tenth or hundreth (more rare to see) decimal point. This map shows the Bortle Scale for Austin, Texas, where light pollution is so bad it hits a 9:

Even an hour away from the city the scale still reaches 5.5-5.9. Luckily, I'm about ten minutes away from a Bortle 3 area, but I dare not leave an expensive smart telescope miles away where it's extremely dark out.
I mapped a list of seeing conditions to code so I could change the information on the overlay if the conditions weren't good. Thankfully, I don't really need to check the Bortle Scale since it's mostly a constant value.
I realized in coding this weather system that I would be likely be spending every night updating the seeing conditions manually since we can't be absolutely certain if a cloud is directly above us blocking our telescope, so instead I built a point-based system to accurately reflect seeing conditions:
def calculate_seeing(cloud_cover: int, wind_mph: float, humidity: int, weather_code: int = 0) -> tuple[str, str]:I use a 100-0 score system. Starting at 100 I calculate cloud coverage, wind speed, humidity, and subtract points. This results in an overall seeing quality value:
Instant Poor - Any precipitation or 95%+ cloud cover.
Cloud cover: -60 (80%+), -40 (60%+), -25 (40%+), -10 (20%+)
Wind: -30 (20+ mph), -20 (15+), -10 (10+), -5 (5+)
Humidity: -15 (90%+), -10 (80%+), -5 (70%+)
Score > Level:
- 85+ = Excellent
- 70+ = Very Good (minimal distortion)
- 50+ = Good
- 30+ = Fair (some wobble)
- <30 = Poor (strong twinkling)
I hooked the weather data up to Open-Meteo's API, and set a fetch for every 5 minutes. I tested it a few times, and I was shocked to see how accurate it was. I then created a command to set a custom offline message just in case I needed to explain to viewers why the telescope was offline during regular viewing hours. If i wished, I could just type "!offline Poor seeing conditions", and the overlay would update immediately so viewers had additional information about the offline status along with the status of the weather.

I was mostly done at this point. The commands were built and working, voting was working, slewing was working, and the loading screen looked pretty awesome. While I was testing edge-case bugs, I happened to catch the weather report out of the corner of my eye.
"Snow"
"That can't be right. Something has to be wrong here", I said to myself.
I restarted the script for the bot thinking I had broken something with some new code I had created.
"Snow"
I looked out of the window of my bedroom door. The light from the bedroom reflected off what appeared to be rain. I opened the door. The ground was frosty, but there wasn't any snow. As I looked to the sky, I noticed what I had been observing wasn't rain, but snow flurries instead. Within 30 minutes snow was covering the ground.

Now that I'd gotten first-hand experience of how accurate the weather system worked, it was time to implement the voting system. I coded the rest of the voting system to open voting immediately when no target was being viewed. If a target was being viewed, wait 15 minutes, then open voting for another 15 minutes. This ensured ~30-40 minutes of uninterrupted viewing. Once the 15 minute voting period ended, we'd tally the votes, switch to our new loading screen while slewing to the target, and show the stacked images on another scene.
async def execute_vote_winner(self):
winner = max(self.votes.items(), key=lambda x: x[1])[0]

# Find object coordinates
obj_info = self.observatory.find_object(winner)

# Command telescope to observe
await self.controller.goto_target(ObservationTarget(
name=obj_info["name"],
ra=obj_info["ra"],
dec=obj_info["dec"]
))

await self.channel.send(f"Now viewing: {winner}!")
I had finally completed what I set out to do. I had a telescope automatically controlled by Twitch chat commands, and an OBS WebSocket connected to switch between overlays depending on the current state of the telescope.
Something was missing though. Even though I had solved many of the downtime issues in cases where the telescope was doing something, I couldn't help but think about how this livestream would largely be boring throughout the entire day when it was turned off or parked. I kept trying to think of ways to make unavoidable downtime fun, but I just couldn't come up with anything.
The Constellation System: Stars for Supporters
I was never into doing this for money. There are far more lucrative ventures one could take over broadcasting a telescope feed to a category with less than 300 viewers total on Twitch in the middle of the night. At the beginning of all this, I was pretty scared about potentially hundreds of people attempting to control my telescope. I wasn't concerned about security but I was scared my telescope would break. I had limited the ability to vote to subscribers and donors of my channel just to be safe. I didn't want to have to be on the stream every single night, babysitting every potential bad actor but I also wanted an easy way for people to have access.
While simple, it's my belief that when you pay for something, you tend to look out for the best interest for what you contributed to. Specifically in this case, if people had to donate a little bit to use the telescope, it would be less likely random people would come in and start spamming all kinds of commands without a care of a $4000 telescope breaking. To be completely honest, donating or subscribing doesn't really make for a fun experience. There's definitely fun to be had by simply going to the stream, typing a command, and seeing something. I completely recognized the value in that, but I wouldn't risk my telescope being damaged by a bug being exploited while I'm asleep at 2AM. It wasn't something I was ready to budge on so I put my game designer hat on and looked for a way to make subscribing to the stream fun and interactive.
The next night, I created the StarMap.
When someone subscribes to the livestream, gifts a subscription to another user that's visited the stream, or donates at least 500 bits, they'd earn a "star". The star is placed on the StarMap between viewing periods for all to see with the user's name on it.
Gifting multiple subscriptions or bits at once would create an extremely large star depending on how many subs were gifted or bits were sent, and giving multiple subscriptions or bits over a period of time would create new stars. If the user donated again and already had a star placed on the StarMap, we'd create another star and connect all the previous stars with a line and turn it into a constellation.
Twitch has quite a lot of data in their API about subscriptions and bits, including:
Who purchased them
How many were purchased
If the subscription was for themselves or another user
Who subscriptions were gifted to
What time the subscription/gift/bit donation happened
{
  "constellations": {
    "username_lower": {
      "username": "OriginalCase",
      "stars": [
        {
          "x": 1200,
          "y": 400,
          "size": 10,
          "brightness": 230,
          "twinkle_offset": 42,
          "timestamp": 1706000000.0,
          "gift_count": 1,
          "is_solar": false
        }
      ],
      "connections": [[0, 1], [1, 2]],
      "color": [255, 220, 100],
      "user_color": [255, 0, 0],
      "created_at": 1706000000.0,
      "last_updated": 1706000000.0,
      "pulse_offset": 3.14
    }
  },
  "updated_at": 1706000000.0
}
These were just some of the different data points the API would give, so I built a reward system that would use this data to provide different kinds of stars based on the gift and donation amounts. Twitch has a max gift limit of 200 in a single purchase. While I never expect to see anything over 35 gifts in a single purchase in my lifetime, it wasn't hard to provide a reward for it anyway. I added little corona effects and different colors based on the type of star generated, going as far as following star color and sizes according to how they actually appear in real life.

Once I finished setting up the different star rewards, I thought it would be fun to see the constellations drift across the sky like real stars. I then came up with an idea to have the constellations follow a 24-hour cycle. A star donated at 2:35 AM would reappear at the same position at 2:35 AM the next day drifting from right to left over approximately five hours before disappearing once again.
// Constellation drift calculation
const DRIFT_SPEED_PX_PER_HOUR = 400;
const DRIFT_DIRECTION = {x: -1, y: -0.15};

function calculateStarPosition(star, hoursElapsed) {
  return {
    x: star.originalX + (hoursElapsed *   DRIFT_SPEED_PX_PER_HOUR * DRIFT_DIRECTION.x),
    y: star.originalY + (hoursElapsed * DRIFT_SPEED_PX_PER_HOUR * DRIFT_DIRECTION.y)
  };
}
I continued looking for ways to make this a gamified experience. Eventually I came up with the idea that viewers could draw their own constellations if they donated at the right minute and second using the donation/subscription timestamp. The minute within the hour you donated would dictate the vertical placement of the star and the hour you donated would simply dictate the horizontal placement over time.
After a few hours of coding, and many more hours of debugging broken code, I got it working!
I actually loved the idea so much that I went from only keeping constellations on the map for a week to keeping them permanently!
Imagine coming back to the stream three years later to see your constellation!
I'd finally gotten some rest, then made some adjustments to the overlay so the background color would change depending on where the sun was in the sky. The later in the day, the darker the StarMap's background would get, and vice versa. It was a struggle to keep constellations visible during the day, but I ended up finding a good color palette that worked for the brightest time of day and the darkest time of night.
At this point the stream had been live for hours. There obviously weren't any donors to help me test the StarMap, so I created some dummy data and saved it to the JSON file. I refreshed the overlay:

It was amazing! I was so impressed with everything I sat up all night adding little test stars just so I could watch them naturally drift across the screen. I woke myself up just in time to watch my own gift sub constellation pass by!
My initial goal was to make downtime interactive and fun. I spent the next 24 hours having so much fun timing my fake donations and trying to build interesting pictures that I was up long enough to see the sun come up and change the overlay's color bright. I had also heard the music fade out completely when civil twilight occurred. I slept for the entire day, completely exhausted.
I woke up hearing loud music from my headphones. I had slept so long that the music that had faded out in the morning had now faded back in to 100% as the sun had lowered past 0 degrees on the horizon. I brought the telescope outside, hooked it up, and invited my friends to come check it out. For the next couple days, I found and fixed little bugs, added little features and nuances, and changed font sizes and other small annoyances to really clean up the appearance.
Two days later the entire project was finished. I had lost so much sleep and somehow even managed to flip my circadian rhythm backwards. I've been spending the nights since working on new features and fixing little bugs here and there.
Challenges
Not everything went smoothly all the time. Here are some of the challenges that nearly derailed the project:
Challenge 1: Observation Timeouts
Sometimes the telescope would get stuck during plate-solving due to obstructed views or it would just refuse to stack images. I implemented timeout handlers that detect when an observation has been stuck for too long and would automatically abort failed observations, restarting the voting cycle:
# 5-minute timeout for zero stacks
if stacking_count == 0:
    if zero_stacks_since is None:
        zero_stacks_since = time.time()
    elif time.time() - zero_stacks_since > 300:
        await self.controller.stop_observation()
        await self.voting_manager.restart_voting_on_failure(
            "No images captured (possible obstruction)"
        )
Challenge 2: More Initialization Progress Issues
The !init command would start calibration but gave no feedback despite having coded it to. I had to trace through the decompiled APK to understand the step types (ASTROMETRY, AUTO_FOCUS, START_TRACKING) and map them to human-readable progress messages since "WIDE_ASTROMETRY_FAILED" was not a meaningful error type to report in chat.
Challenge 3: GPU Passthrough in Proxmox LXC
Getting the Intel Arc GPU to work inside an unprivileged LXC container required painstaking cgroup configuration, which I often forget how to do since I've rarely ever had to do it. I had to set device node permissions correctly, then get the correct render group membership from Proxmox into the LXC. One wrong permission and OBS would fall back to software encoding, crushing my CPU. I had to shutdown the LXC container several times due to resource exhaustion which would hard lock the container.
Challenge 4: We Must Be Vampires
It's both a blessing and a curse working with astronomy. On one hand you only have so many hours to work on things before the sun comes up and you have to stop. It's physically impossible for me to set a telescope up in the middle of the day expecting to see the Cigar Galaxy. However, I found that to be pretty healthy in the long run. I was forced to get up and go do something else and stop hyper-focusing on getting to a milestone or fixing that bug that would otherwise keep me up for six more hours.
On the other hand, when everything was completely broken, I'd spend so many hours trying to fix things that the sun would come up, I would have to bring the telescope inside and shut it off. It would piss me off since I now had no choice but to wait 12 more hours for the Sun to go down before I could attempt to continue my work.
The World's Telescope
After two weeks of reverse engineering, debugging WebSocket connections at 6 AM with no sleep, and writing so much Python that I actually dreamt about bugfixes, Return Void stayed live for over 24 hours and continues to stay live all day.

I now run a fully automated Twitch stream where anyone can watch and interact with my Vespera II telescope. Subscribers or donors can vote on targets. The overlay shows real-time data and a retro loading screen. Music plays in the background and changes its volume depending on what time of day/night it is. Constellations drift across the screen bearing the names of supporters.
The kid who used to lay on a farmhouse roof dreaming of planets and wondering about the moon now shares that same wonder with millions of strangers on the internet.
No emulators.
No finicky Wi-Fi connections.
No babysitting required.
The telescope comes alive at sunset, initializes itself, and waits for its first vote. When the sun rises, it parks itself and sleeps until the next night.
Was it overkill? Absolutely.
Did I spend an unreasonable amount of time solving a problem that started with "BlueStacks is annoying"? Definitely.
But somewhere out there, someone who can't afford a telescope or lives in a city with too much light pollution, or simply never had the opportunity to see Saturn's rings with their own eyes, can now type !vote saturn and watch it appear on their screen.
That makes every late night of packet sniffing, code decompilation, creation, and automation worth it.
I wonder if NASA would let us do something like this with one of their telescopes?
Sounds like a challenging puzzle, but I'm sure I could find the corner-pieces.
Return Void streams live at https://twitch.tv/returnvoid whenever the skies are clear and the telescope is awake. Come say hi, vote for your favorite galaxy, and maybe earn your own constellation among the stars.